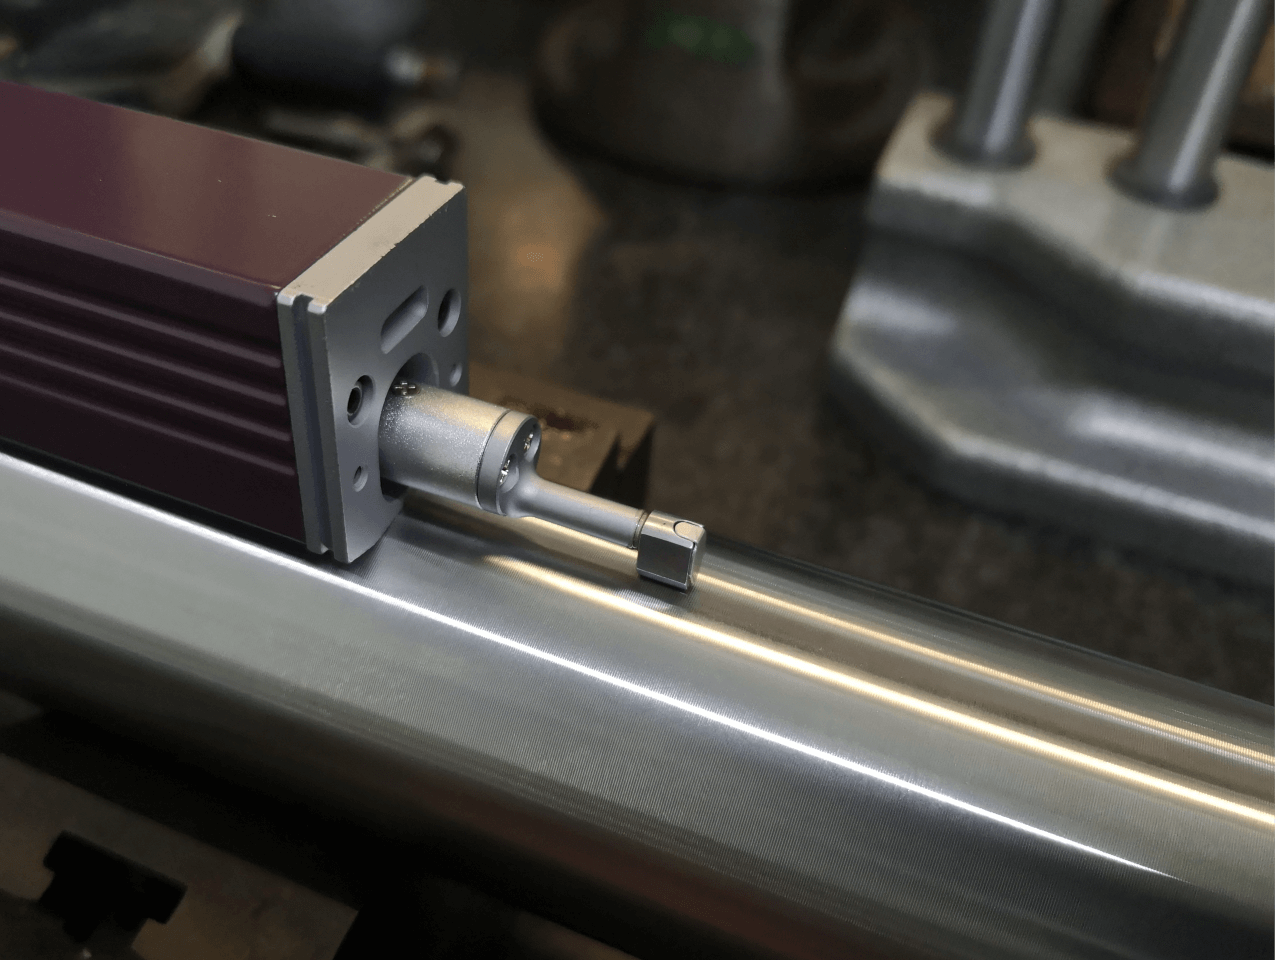
The topography of a surface is comprised of deviations which make up a part’s surface texture. These deviations include surface roughness, waviness, form, lay and flaws. While all deviations impact overall performance, surface roughness determines how an object will interact with its environment and is a good indicator of a mechanical component’s performance. Surface roughness can be seen as the closely spaced peaks and valleys on a surface and are the result of the material condition and production process used.

Maintaining surface control during manufacturing is critical for reliable, consistent products. In tribology, rough surfaces usually wear more quickly and may have higher friction coefficients than smooth ones. Irregularities on the surface may form nucleation sites for cracks, corrosion and may lead to part failure.
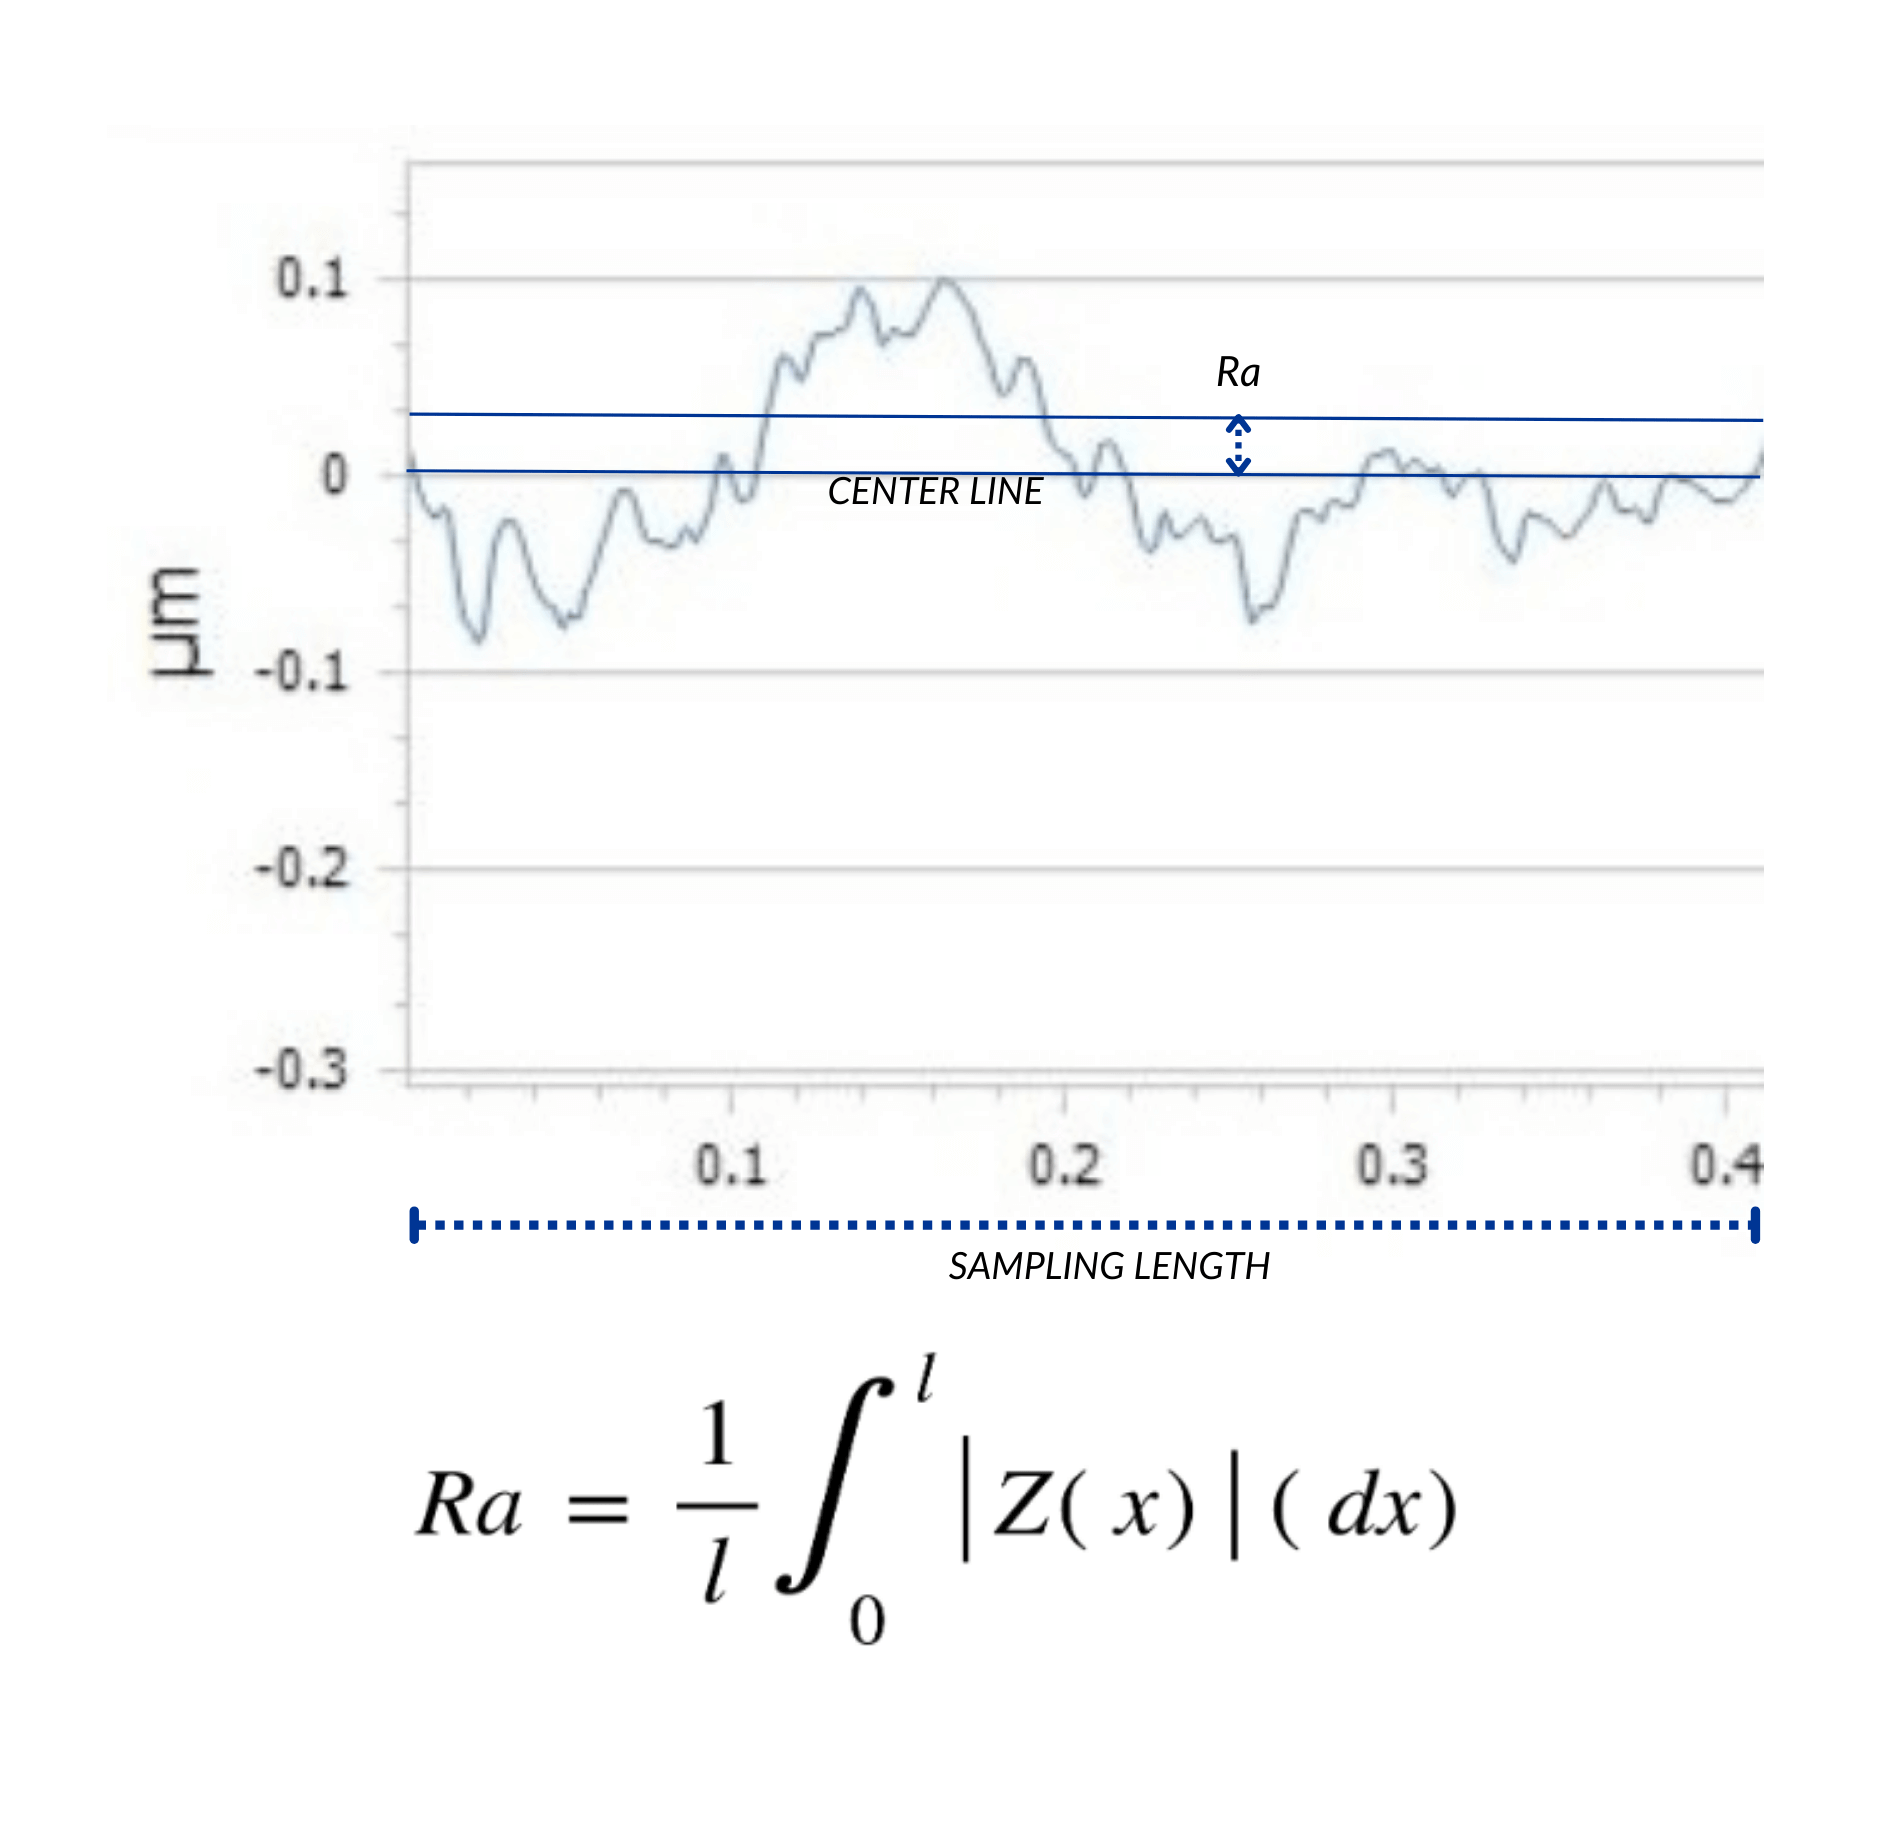
The mean arithmetical value of surface roughness is represented using a single numeric parameter, Ra. A Ra value is calculated using the average height of the peaks and valleys measured from the center line across a standard length. Ra values are commonly represented either in microinches (µin) or micrometers (µm) and provides a simple value to accept or reject decisions.
Surface finishing is the process of refining surface deviations for optimal part performance. For some applications, roughness may be desired to promote adhesion for finish coatings such as painting, powder coating or plating while others may need a smooth, mirror like finish with a low Ra value.
A product’s end use and material type are factored into the final surface finish value. The required Ra or final surface finish a part requires is called out by manufacturers and engineers on a product’s drawing or print.
Mass surface finishing allows for the mechanical deburring, descaling, and polishing of multiple parts simultaneously. Utilizing different media types, processing speeds and cycle lengths can achieve the precise polishing or texturizing a part requires.

ISO 9001:2015 certified and FFL licensed, ISO Finishing is an expert in creating customized, documented and repeatable isotropic surface finishing processes. We are experienced in working with all material types and our surface finishes meet the strictest requirements.
The best way to show you first-hand how our finish will be your finish is to process your sample. Let us show you what we can do.
LET’S GET IT FINISHED.